
Install RCS Studio for HubSpot
This page picks up from the moment you select Install on the RCS Studio listing in the HubSpot App Marketplace. By the end, your HubSpot account is linked to your RCS Studio account and you are ready to create or set up an agent.
Access
You need a HubSpot user with Super Admin or App Marketplace access permission to install an app. Without it HubSpot does not let you approve the permissions in step 1. Ask a user who has it to run the install.
What to expect
Nothing is created in your RCS Studio account at install. The connector (the link between your agent and HubSpot that records consent; see message flows) is created when you create or set up your first agent. Every agent that already exists in the RCS Studio account you sign in to appears in the app, so you can set up an agent you already have without recreating it. Create and set up your agent covers both routes.
Step 1: Approve HubSpot permissions
Use one browser for the whole install and finish within 30 minutes. Opening two installs in the same browser within ten minutes invalidates the first one. After you select Install, HubSpot lists the permissions (OAuth scopes) that RCS Studio needs in your portal.
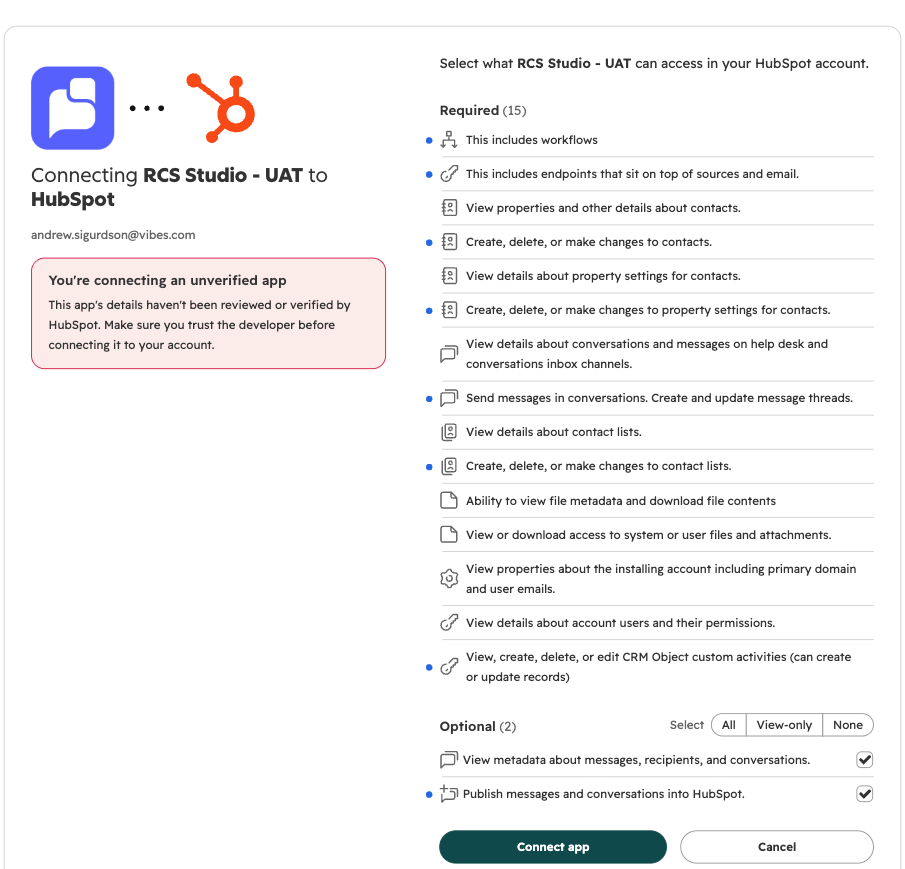
Review the list and select Connect app. Two permissions are optional and only for the two-way inbox. You can decline them now and turn them on later. What the permissions are for explains each group.
HubSpot then sends you to the RCS Studio account page.
Step 2: Sign in to or create your RCS Studio account
What you see depends on whether you have an RCS Studio account and whether you are signed in.
- You have an account and are signed in. You go straight to the permission page. Skip to step 3.
- You have an account and are not signed in. Enter your email and password and select Log in. If you forget your password, select Forgot password to get a reset link by email. Then you go to the permission page.
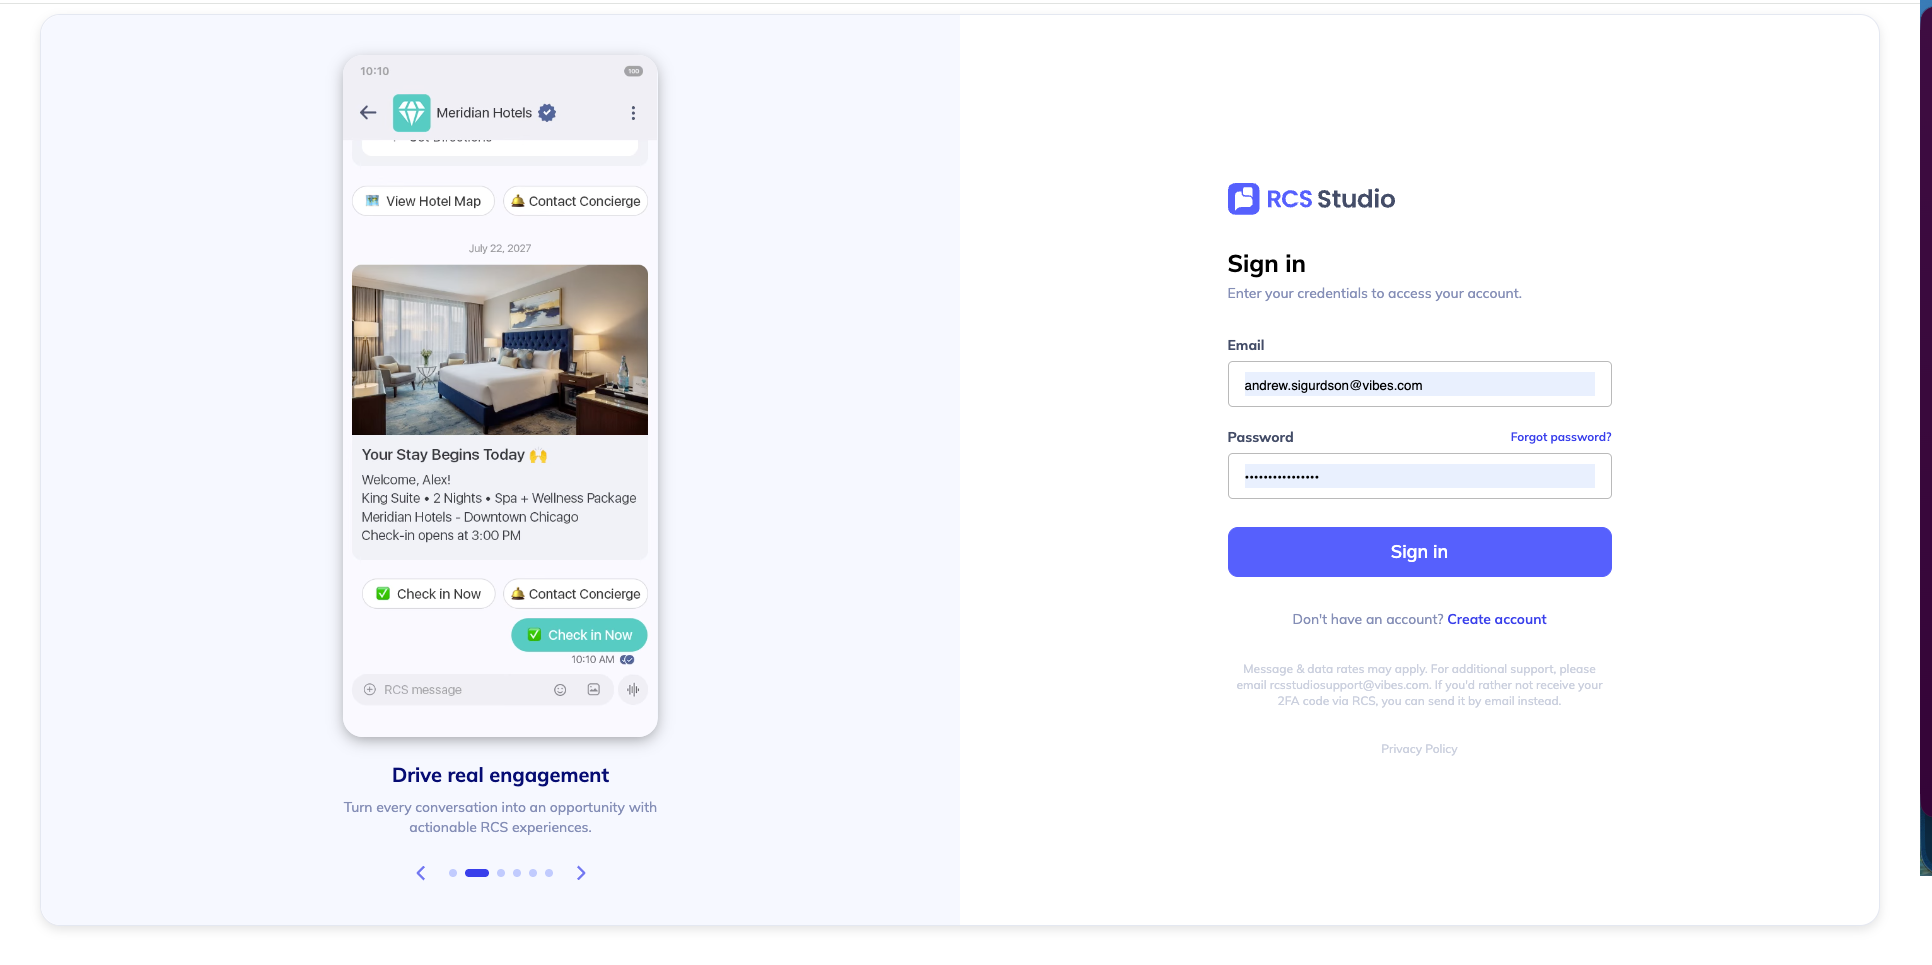
- The account is already linked to another HubSpot portal. An RCS Studio account can be linked to only one portal at a time. The install stops and your portal stays unlinked. Uninstall RCS Studio explains how to move to a different account. Sign in with a different account instead.
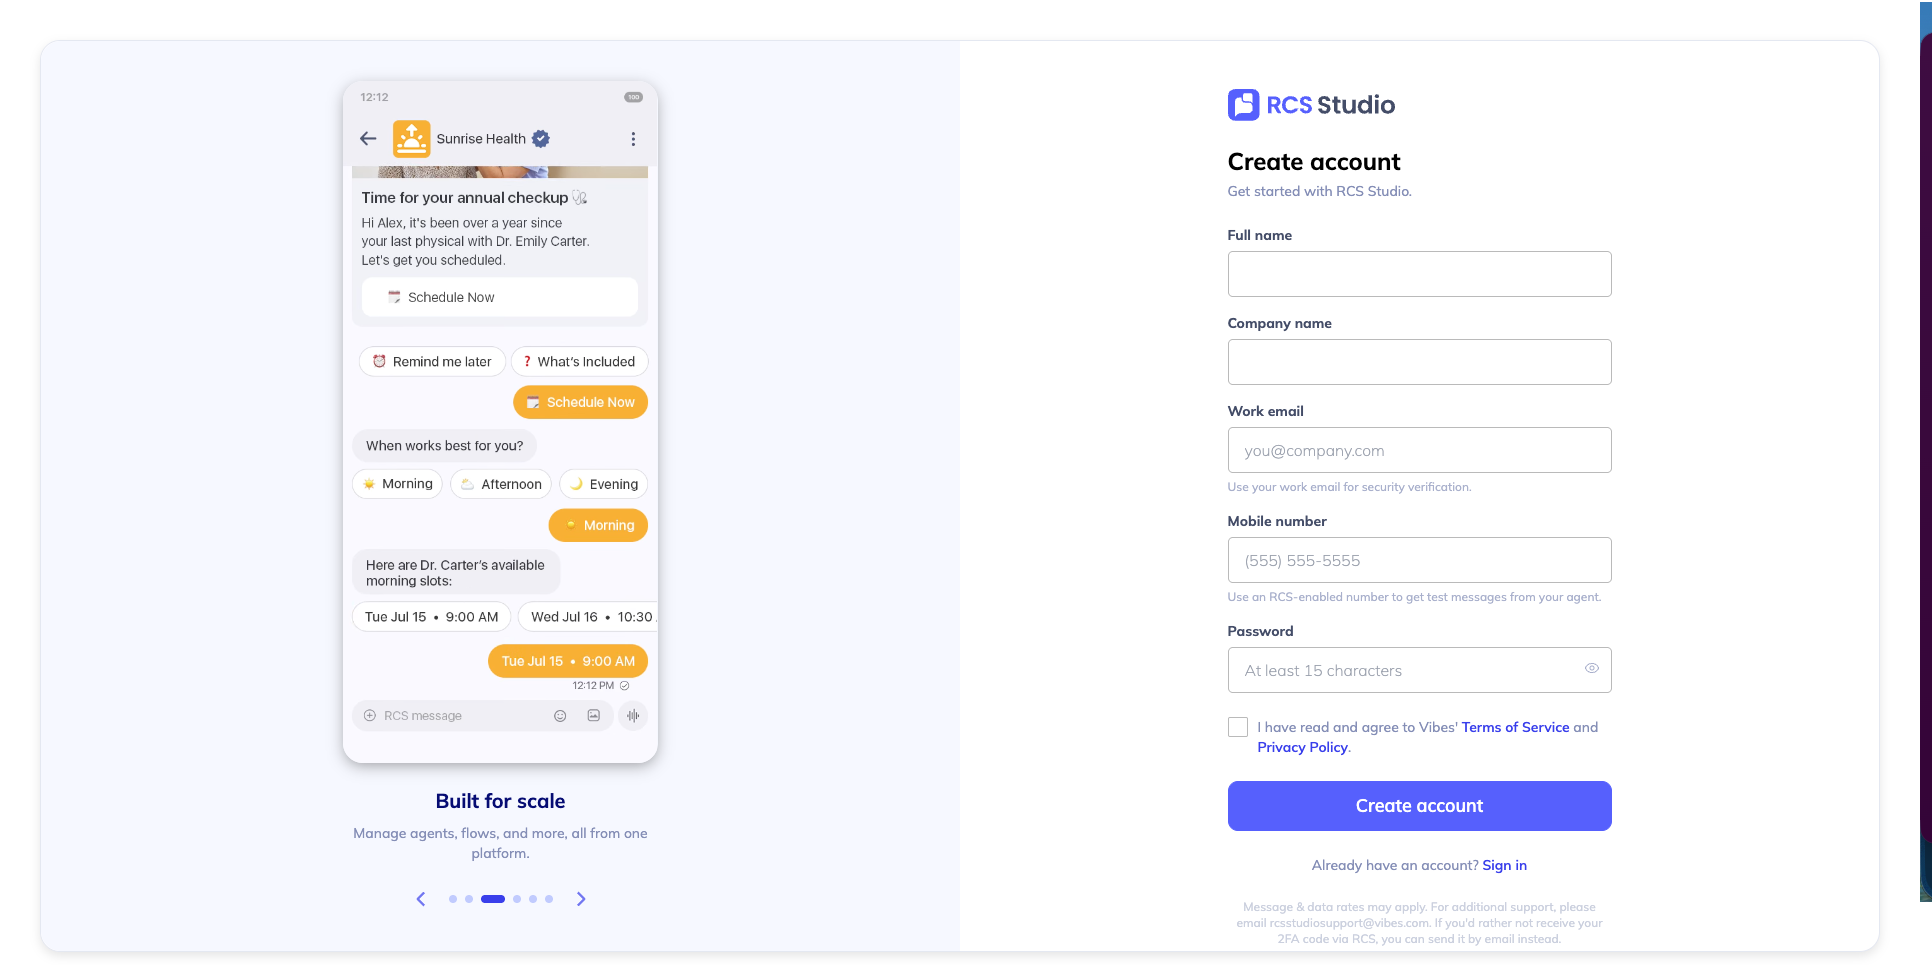
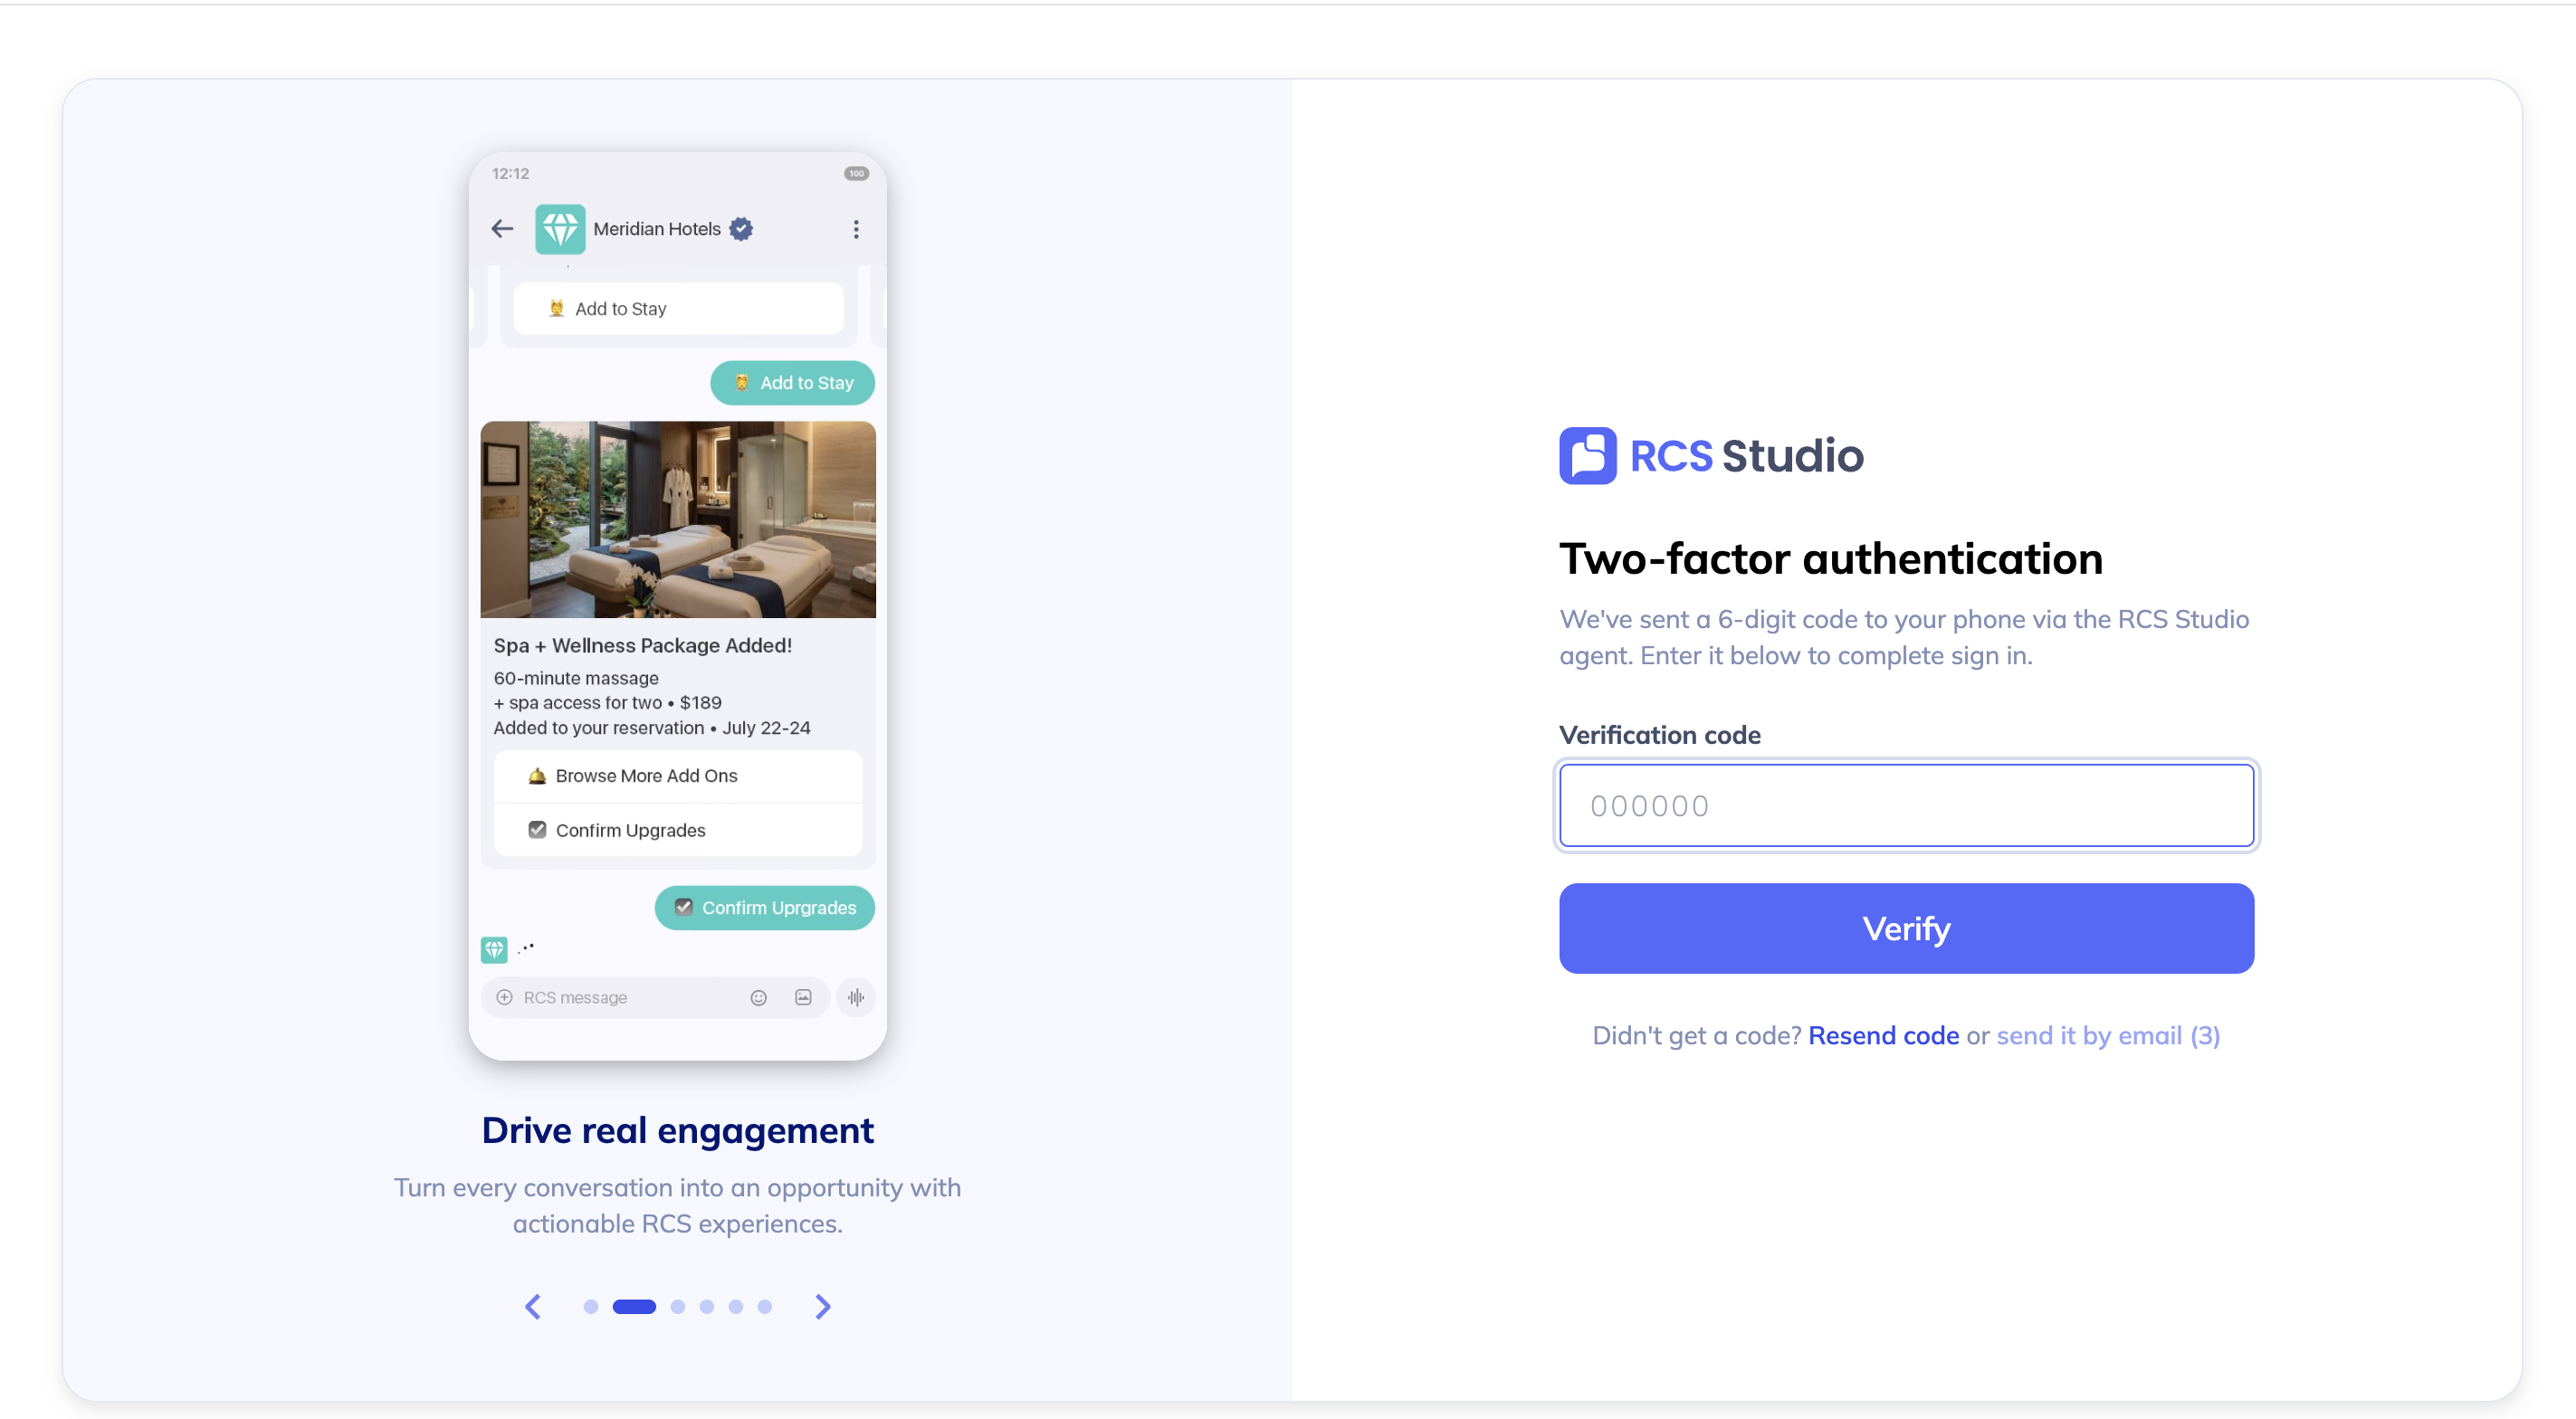
- You have no account. Enter your name, email and password and submit the form. RCS Studio sends a verification code by email or text message. Enter it to finish. Then you go to the permission page.
Step 3: Approve RCS Studio permissions
All three paths from step 2 end here. This page lists what the HubSpot integration may do in your RCS Studio account. RCS Studio asks for three permissions: agents:read, agents:write and messages:send.
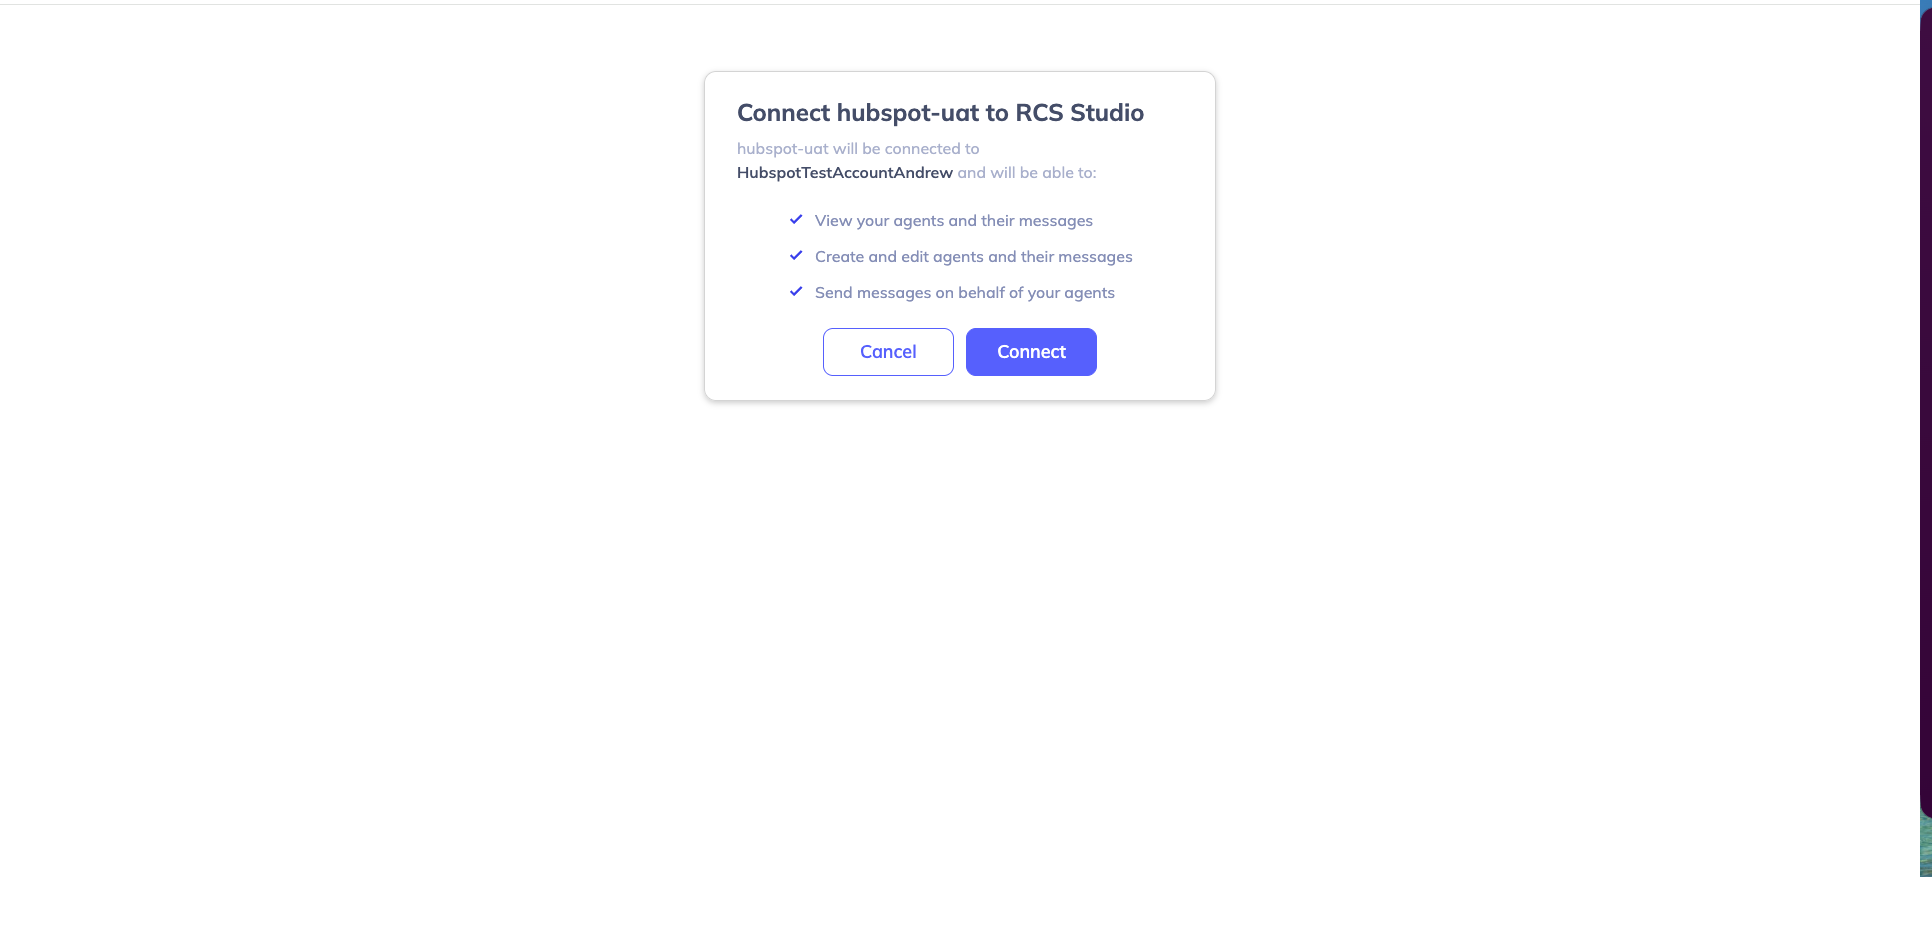
Select Connect. HubSpot then opens the Connected Apps page, which confirms the install is complete.
What the permissions are for
RCS Studio asks for 15 required HubSpot permissions and 2 optional ones for the two-way inbox. HubSpot shows them in its own wording on the approval screen. RCS Studio does not request access to companies, deals, tickets or any sensitive-data scope.
| What the app does | HubSpot label | Permissions (scopes) |
|---|---|---|
| Identify your portal and refresh the connection without asking you to sign in again | Sign in with HubSpot | oauth |
| Find a contact by phone number or email, match an inbound reply, read consent, and create a contact when an unknown number opts in, opts out or taps Chat with agent, and record opt-in and opt-out on the contact | View contacts, Edit contacts | crm.objects.contacts.read, crm.objects.contacts.write |
Create the "RCS Studio" property group and the rcs_consent_opted_in and rcs_consent_opted_out properties when you set up your first agent, and check that they exist | View contact properties, Edit contact properties | crm.schemas.contacts.read, crm.schemas.contacts.write |
Read an agent's optional opt-in list and its members, create the list only if you choose to in the setup guide (named RCS Opted-In — {agent name}), and add or remove contacts when consent changes | View lists, Edit lists | crm.lists.read, crm.lists.write |
| Write message and consent entries to the contact timeline | Timeline events | timeline |
| Register the Send RCS Message workflow action | Workflow actions | automation |
| List your inboxes, and create an inbox and connect an RCS channel to it | View Conversations, Edit Conversations | conversations.read, conversations.write |
| List your file library so you can pick images, and fetch a signed link for the agent logo and banner you upload | View files, View hidden files | files.read, files.ui_hidden.read |
| Read the app's own timeline entries back, so a conversation handed to your team shows the customer's text. Without it the text shows as "[Customer message]" | Read event data | business-intelligence |
| Check whether you are a HubSpot super admin, which decides access to the Settings tab, billing, inbox connection and uninstall | View users | settings.users.read |
Optional permissions for the two-way inbox
HubSpot grants these two only to Sales Hub or Service Hub Enterprise accounts, so the app asks for them as optional.
| Permission (scope) | What the app does with it |
|---|---|
conversations.custom_channels.read | Reads the RCS channel accounts connected to your inboxes |
conversations.custom_channels.write | Creates the RCS channel and posts inbound and outbound messages into the inbox thread |
If you decline them, or your account does not have them, workflow sends, consent and test devices work normally. The Inbox step of the setup guide becomes a notice instead of a form.
To turn the inbox permissions on later:
- A HubSpot admin opens Settings > Integrations > Connected Apps, then the Approved apps tab, and selects Manage access for RCS Studio.
- On the Data Permissions tab, under Optional, switch on
conversations.custom_channels.readandconversations.custom_channels.write, or select All. - In RCS Studio, select Reconnect HubSpot in the Inbox notice. On the HubSpot approval screen, make sure both optional permissions are on, then select Connect app. Your RCS Studio connection is kept.
If an admin has not done step 2, HubSpot shows the optional permissions locked on with "This permission is disabled for this app by an admin", even for a super admin. Do step 2 first, then reconnect. Step 2 does not change the app's access by itself. The reconnect in step 3 does. This helps only on a Sales Hub or Service Hub Enterprise account.
Installing again on a connected portal
If RCS Studio is already connected and a HubSpot admin approves it again, for example to switch on the optional inbox permissions, HubSpot may run the install flow again. RCS Studio checks that the earlier HubSpot approval and the stored RCS Studio connection both still work. If they do, only the HubSpot approval is refreshed. You do not see the RCS Studio steps, and you land on the Connected Apps page with your RCS Studio connection kept.
Every other run needs fresh RCS Studio consent: a first install, an install after an uninstall, a portal whose HubSpot approval was revoked, or a portal whose RCS Studio connection RCS Studio no longer accepts. In those cases you go through steps 2 and 3 again.
Connection states on the app page
When you open RCS Studio in HubSpot and the connection is not working, the app page shows one of these states.
| State | What it says | Button |
|---|---|---|
| Not connected | "RCS Studio is not connected to this HubSpot account. Complete setup to get started." | Set up RCS Studio |
| Connection lost | "Your RCS Studio credentials are no longer valid. Reconnect to restore the integration." | Reconnect RCS Studio |
| Disconnecting RCS Studio | "RCS Studio is finishing the disconnect from this HubSpot account. It is removing what it set up in your RCS Studio account, which takes about half a minute per agent. You can install it again in a few minutes." | None. Wait, then install again |
| HubSpot connection revoked | "Your HubSpot authorization has been revoked. Re-authorize to restore RCS messaging." | Reconnect HubSpot |
| Could not load your permissions | "RCS Studio could not check what your account may use. Try again." | Retry |
The Set up RCS Studio, Reconnect RCS Studio and Reconnect HubSpot buttons each start the install again from step 1.
Troubleshooting
For every problem marked "start again", select Install again in HubSpot and finish in the same browser.
| Problem | Fix |
|---|---|
| Redirected to an error page after approving HubSpot permissions | Clear browser cookies and try the install link again. Contact support if it persists |
| "Installation Failed" page, or sent back to the HubSpot install screen while setting up | Start again. Two installs in the same browser within ten minutes invalidate the first, and setup must finish in the browser where you approved HubSpot access, within 30 minutes |
| Did not receive the verification code | Check your spam folder. If it has not arrived after a few minutes, use the resend option on the verification screen |
| Cannot sign in to your RCS Studio account | Use Forgot password on the login page |
| "Please try again in a few minutes" | You uninstalled recently and RCS Studio is still removing what it set up. Wait a few minutes, then start again |
| "You declined the RCS Studio connection. Reinstall the app from HubSpot when you are ready to connect." | You declined on the RCS Studio approval page. Start again and select Connect |
| "This link has already been used. If RCS Studio is not connected, start the connection again from HubSpot." | The approval link works once, so a browser Back or a refresh uses it up. Start again |
| "This link has expired. Start the connection again." | The link no longer matches this browser. Start again in the browser you will finish in |
| "We could not verify your RCS Studio account right now. Return to HubSpot and try the install again in a few minutes. If it keeps failing, contact [email protected]." | RCS Studio could not read your account and nothing was connected. Try again in a few minutes, then contact support |
| "RCS Studio did not complete the connection. Return to HubSpot and try the install again." | The RCS Studio side did not finish. Start again |
| "This RCS Studio account is already connected to a different HubSpot portal. Contact your RCS Studio administrator to disconnect from the current portal before connecting here." | A HubSpot super admin of the other portal must uninstall RCS Studio there first, or you can sign in to a different RCS Studio account. Nothing changed on the other portal. Start again |
| "This RCS Studio account is still being disconnected from another HubSpot portal. Try again in a few minutes." | That account was just uninstalled from another portal and is being cleaned up. Wait a few minutes, then start again |
| You want to move a connected portal to a different RCS Studio account | Uninstall RCS Studio covers changing the account |
| No agents appear after setup | You have not created an agent yet, or you signed in to a different RCS Studio account. Create an agent, or reconnect the account that has your agents |
For more help, email [email protected].
Next
Open and navigate the app to find your way around, then Manage your team in HubSpot to invite colleagues and choose who can use what. Then create your first agent, or pick one you already have in RCS Studio.
Updated 9 days ago