Assigning inputs
Input assignments are one of three ways messages can route to the next message in a flow. For an overview of all routing methods, see Message routing.
RCS can be a powerful tool to collect data from your customers. In this article, we'll discuss how to collect this data for use in your RCS conversations.
Setting up an input
To configure an input, open the Advanced panel (gear icon, top right) and select the Input Config tab. Click + Add assignment.
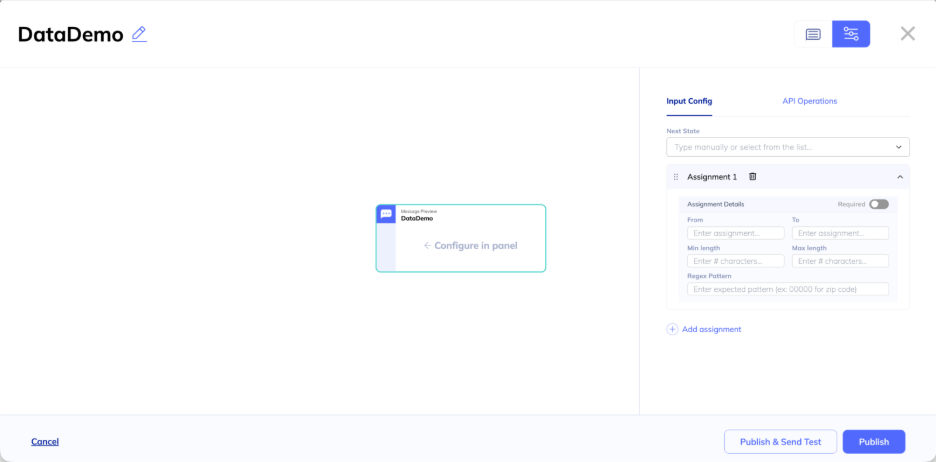
Next State
At the top of the Input Config panel, select which message to send next after the user responds. You can select an existing message or type the name of one you'll create later.
Assignment fields
Each assignment extracts a value from the user's response and stores it for use in subsequent messages.
| Field | Description |
|---|---|
| From | What to extract from the user's response. Uses template variables: message.text or message.location. |
| To | The field name to store the value under. Available in templates as {{ input.field }}. |
| Required | Whether a response is required before proceeding. |
| Min length | Minimum characters required. Error: "Value must be at least X characters." |
| Max length | Maximum characters allowed. Error: "Value must be no more than X characters." |
| Regex Pattern | A pattern the response must match (e.g. 00000 for zip code). Error: "Value does not match required pattern." |
You can add multiple assignments to a single Message to collect several pieces of data at once.
From field variables
The From field specifies which part of the user's response to extract:
| From | What it captures |
|---|---|
message.text | What the user typed, or the label of the suggested reply they tapped |
message.location | Location coordinates if the user shared their location |
message.file | File metadata if the user sent a file |
The user's message is always available in your templates as
{{ message.text }}even without an input assignment. Assignments are only needed when you want to store the value under a specific field name for later use.
Using collected data
When you assign a From value to a field name in To, the value is stored on the conversation context and available in the next Message's templates as {{ input.FIELDNAME }}.
Example: Collect a user's email address
- From:
message.text - To:
email - Next State:
confirm-email
In the confirm-email Message template:
Got it! We'll send updates to {{ input.email }}.Walkthroughs
- Collect data via RCS - Step-by-step guide to collecting user text inputs
- Create dynamic cards via API - Using a user's location to search for nearby locations
Updated 28 days ago