RCS builder
The RCS builder is where you’ll be constructing RCS messages for your agents. You can access the builder by navigating to the agent view, selecting the Messages tab, and either selecting a message you’ve already built or by choosing + New message.
Message panel
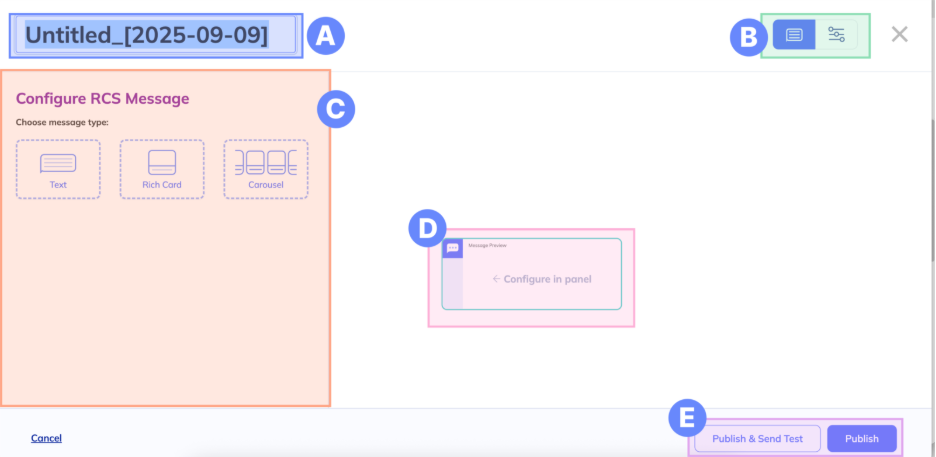
A. Name – Give your message a memorable name. Note that this name will also serve as a keyword you can use to prompt the message from your agent. Once you publish your message, this name cannot be changed.
B. Panels toggle – Use this to toggle between your RCS Configuration panel (left) and the Advanced panel (right).
C. RCS Configuration panel – Found on the left side of the screen, this is where you will build your RCS message.
D. RCS preview card – As you configure your RCS message, see a visual representation of your message. Note that the preview is only an approximation and should not be a replacement for testing on a real device.
E. Publish – Use the Publish button to publish and exit the RCS builder. Use the Publish & Send Test button to send a test message to one of your test devices.
Settings panel
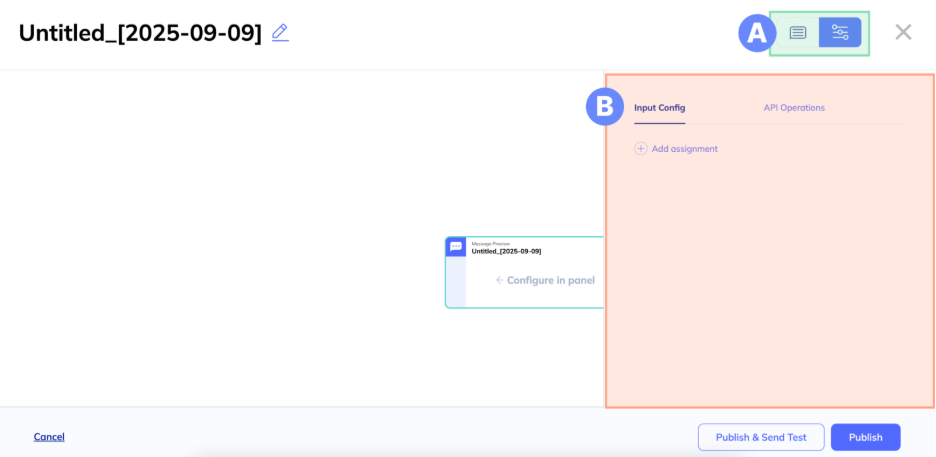
A. Panels toggle – Use this to toggle between your RCS Configuration panel (left) and the Advanced panel (right).
B. Advanced panel – Switch between the advanced options listed below:
- Input Config - Assign inputs to collect data for personalization and targeting.
- API Operations – Add API operations to add dynamic elements to your messages.
Updated 6 months ago