Create an agent or brand
An agent is the “sender” of your messages. Each agent is tied to a brand. You can have several agents tied to a brand, but each agent can only be associated with one brand.
Once the agent is verified, the agent will display in the messaging app as a verified contact, with a contact photo, display name, and contact details. Prior to verification, the agent will be limited to sending to a short list of “test” devices.
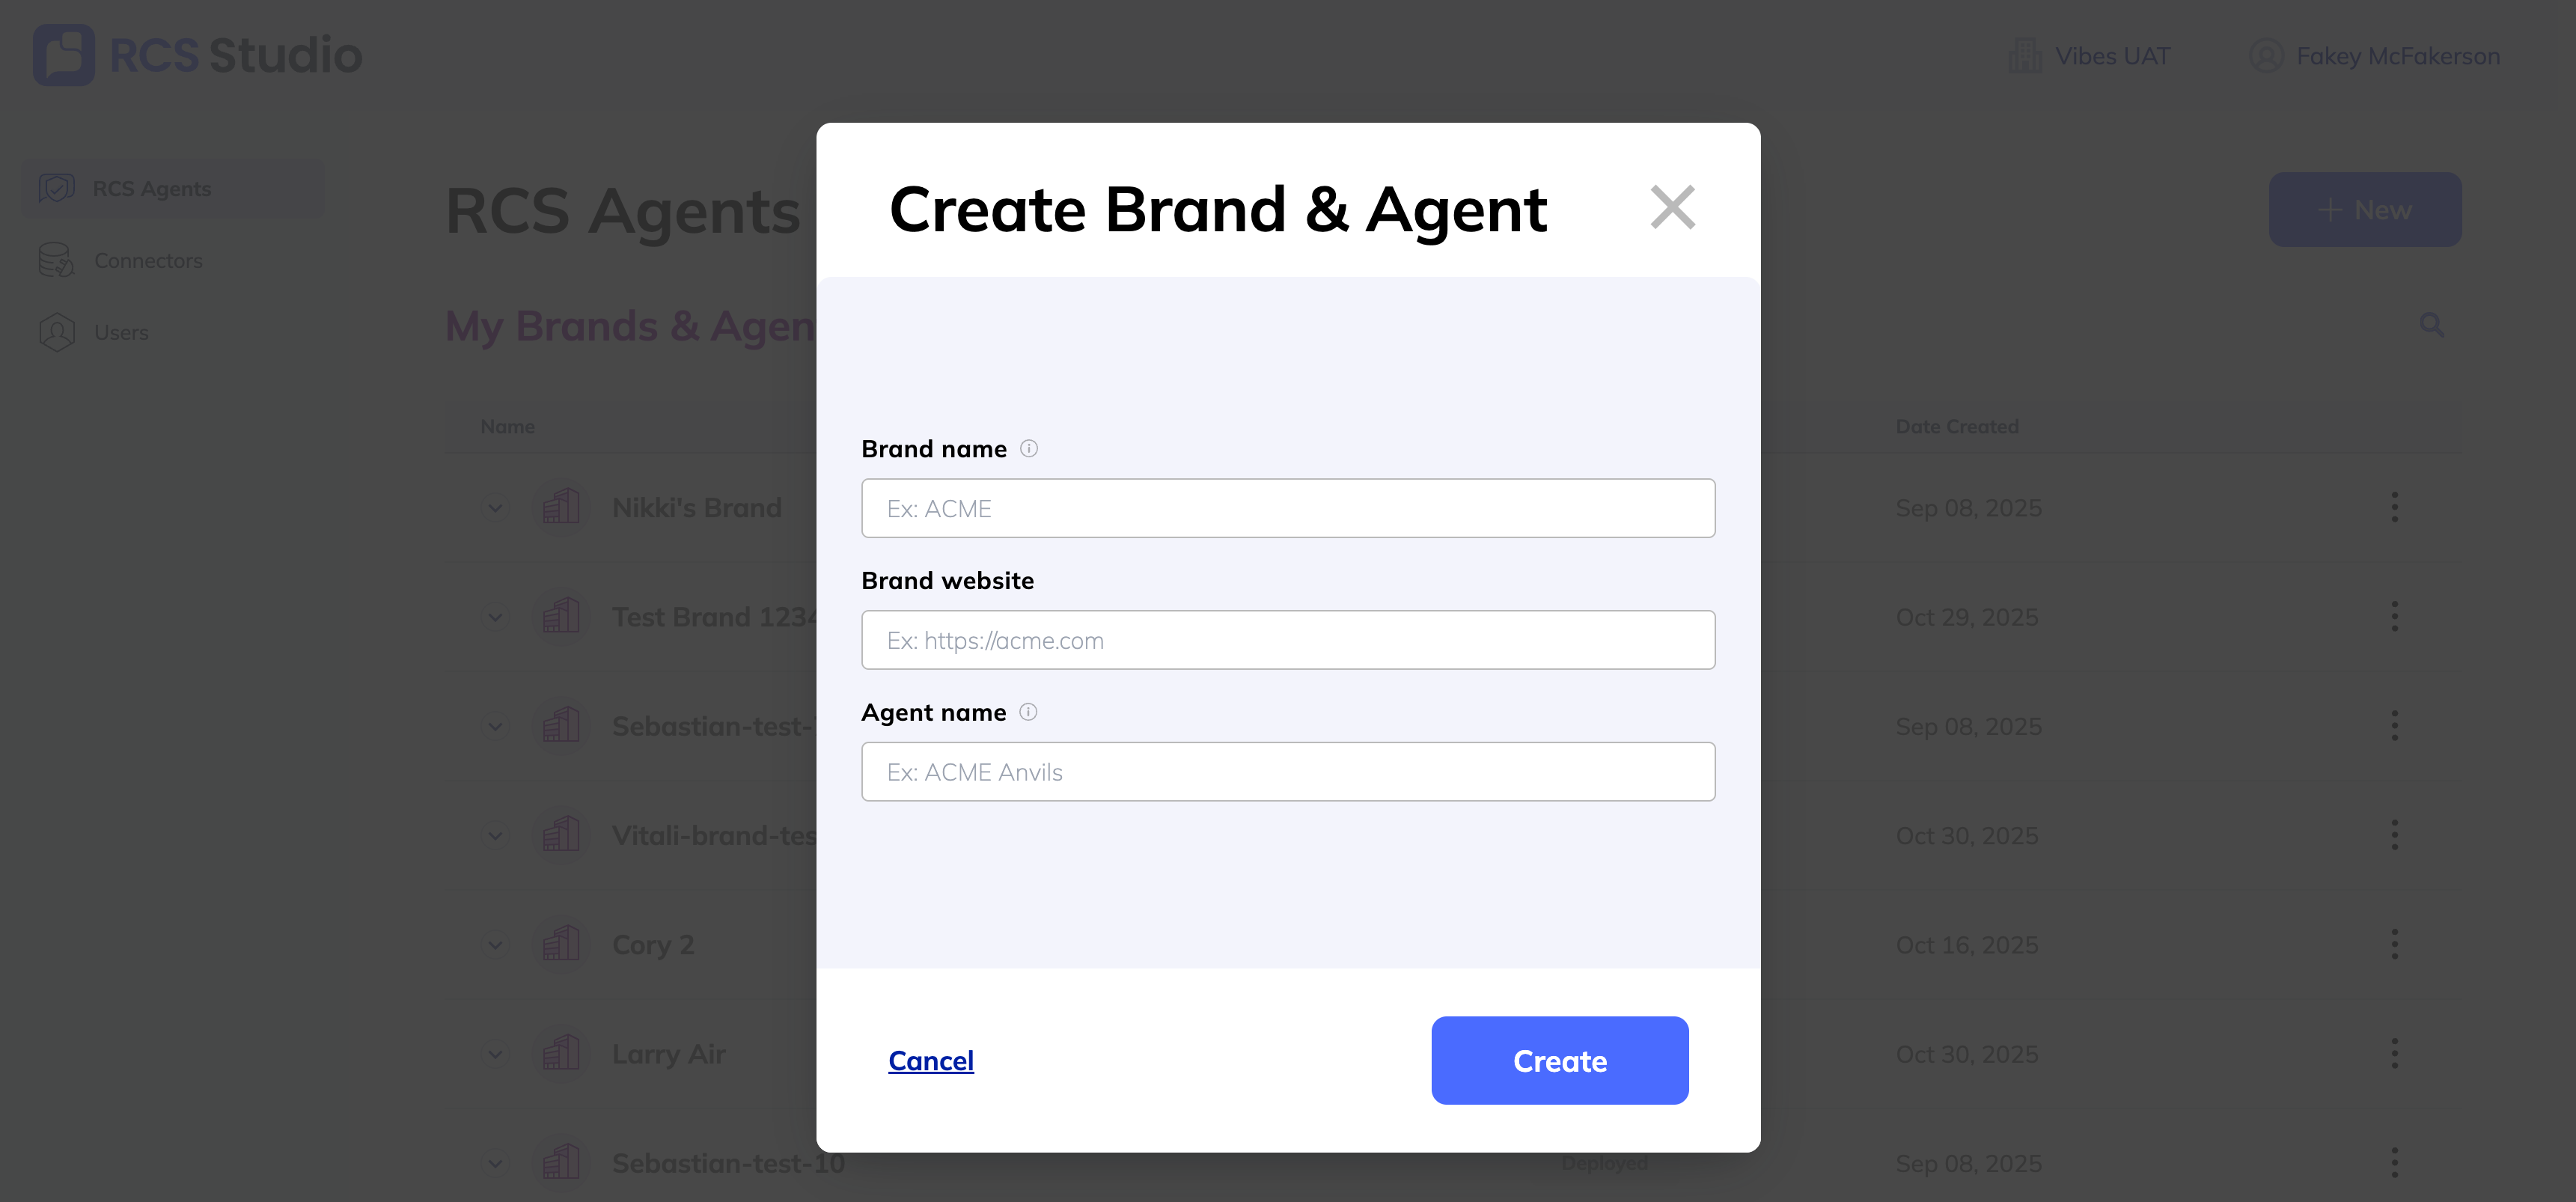
Create a brand & agent
When you are creating a brand in RCS Studio, you will be prompted to create that brand's first agent at the same time.
In RCS Studio, navigate to the tab labeled RCS Agents.
- In the top right corner, click + New.
- Select Brand + Agent.
- Enter a Brand name. Note that you won’t be able to change this later.
- Enter your Brand website.
- Give your agent an Agent name. This will become the display name for your users in their messaging app, so we recommend being unique and specific. For example, if you are setting up a rewards program for XYZ Brand, you may want to name your agent XYZ Brand Rewards.
- Hit Create.
Your brand and its first agent are ready! Next, you’ll want to personalize your agent.
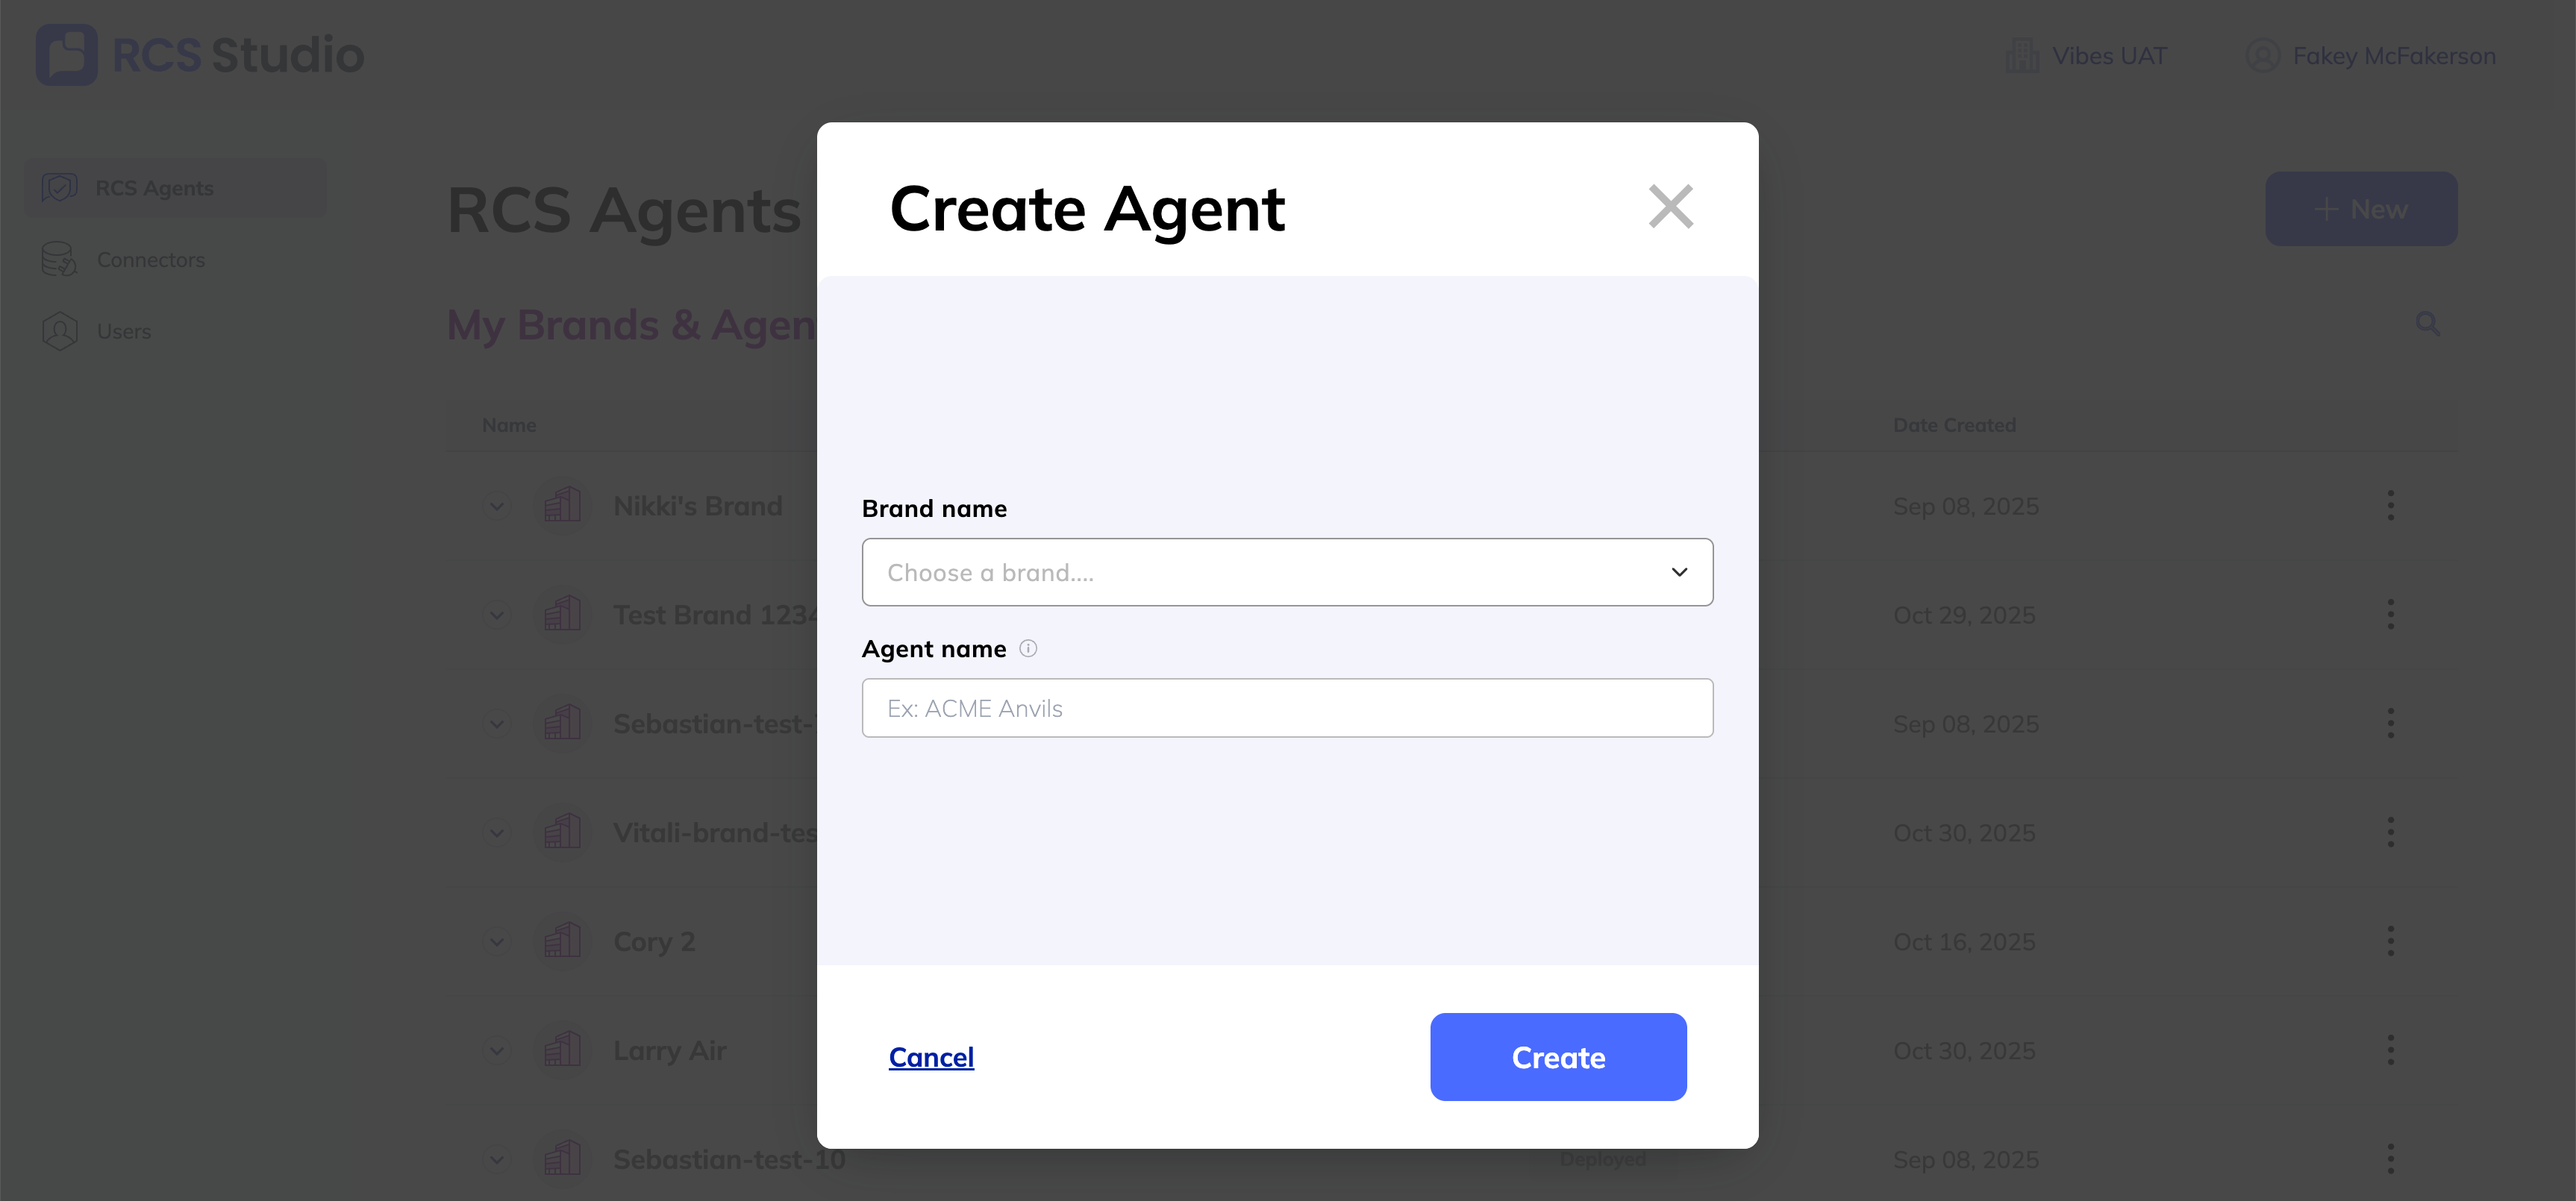
Add an agent to existing brand
In RCS Studio, navigate to the tab labeled RCS Agents.
- In the top right corner, click + New.
- Select Agent only.
- Choose Brand name from the list of brands that have already been created.
- Give your new agent an Agent name. This name will display for your users in their messaging app, so we recommend being unique and specific. For example, if you are setting up a rewards program for XYZ Brand, you may want to name your agent XYZ Brand Rewards.
- Hit Create.
Your agent is now available for testing.
Updated 6 months ago